
Who doesn’t love a good chocolate peanut butter cup? Reese’s brand is probably the most popular but I also love the dark chocolate kind made by Trader Joe’s. What I don’t love about either of those options is that they come wrapped in un-recyclable plastic. So I make my own!
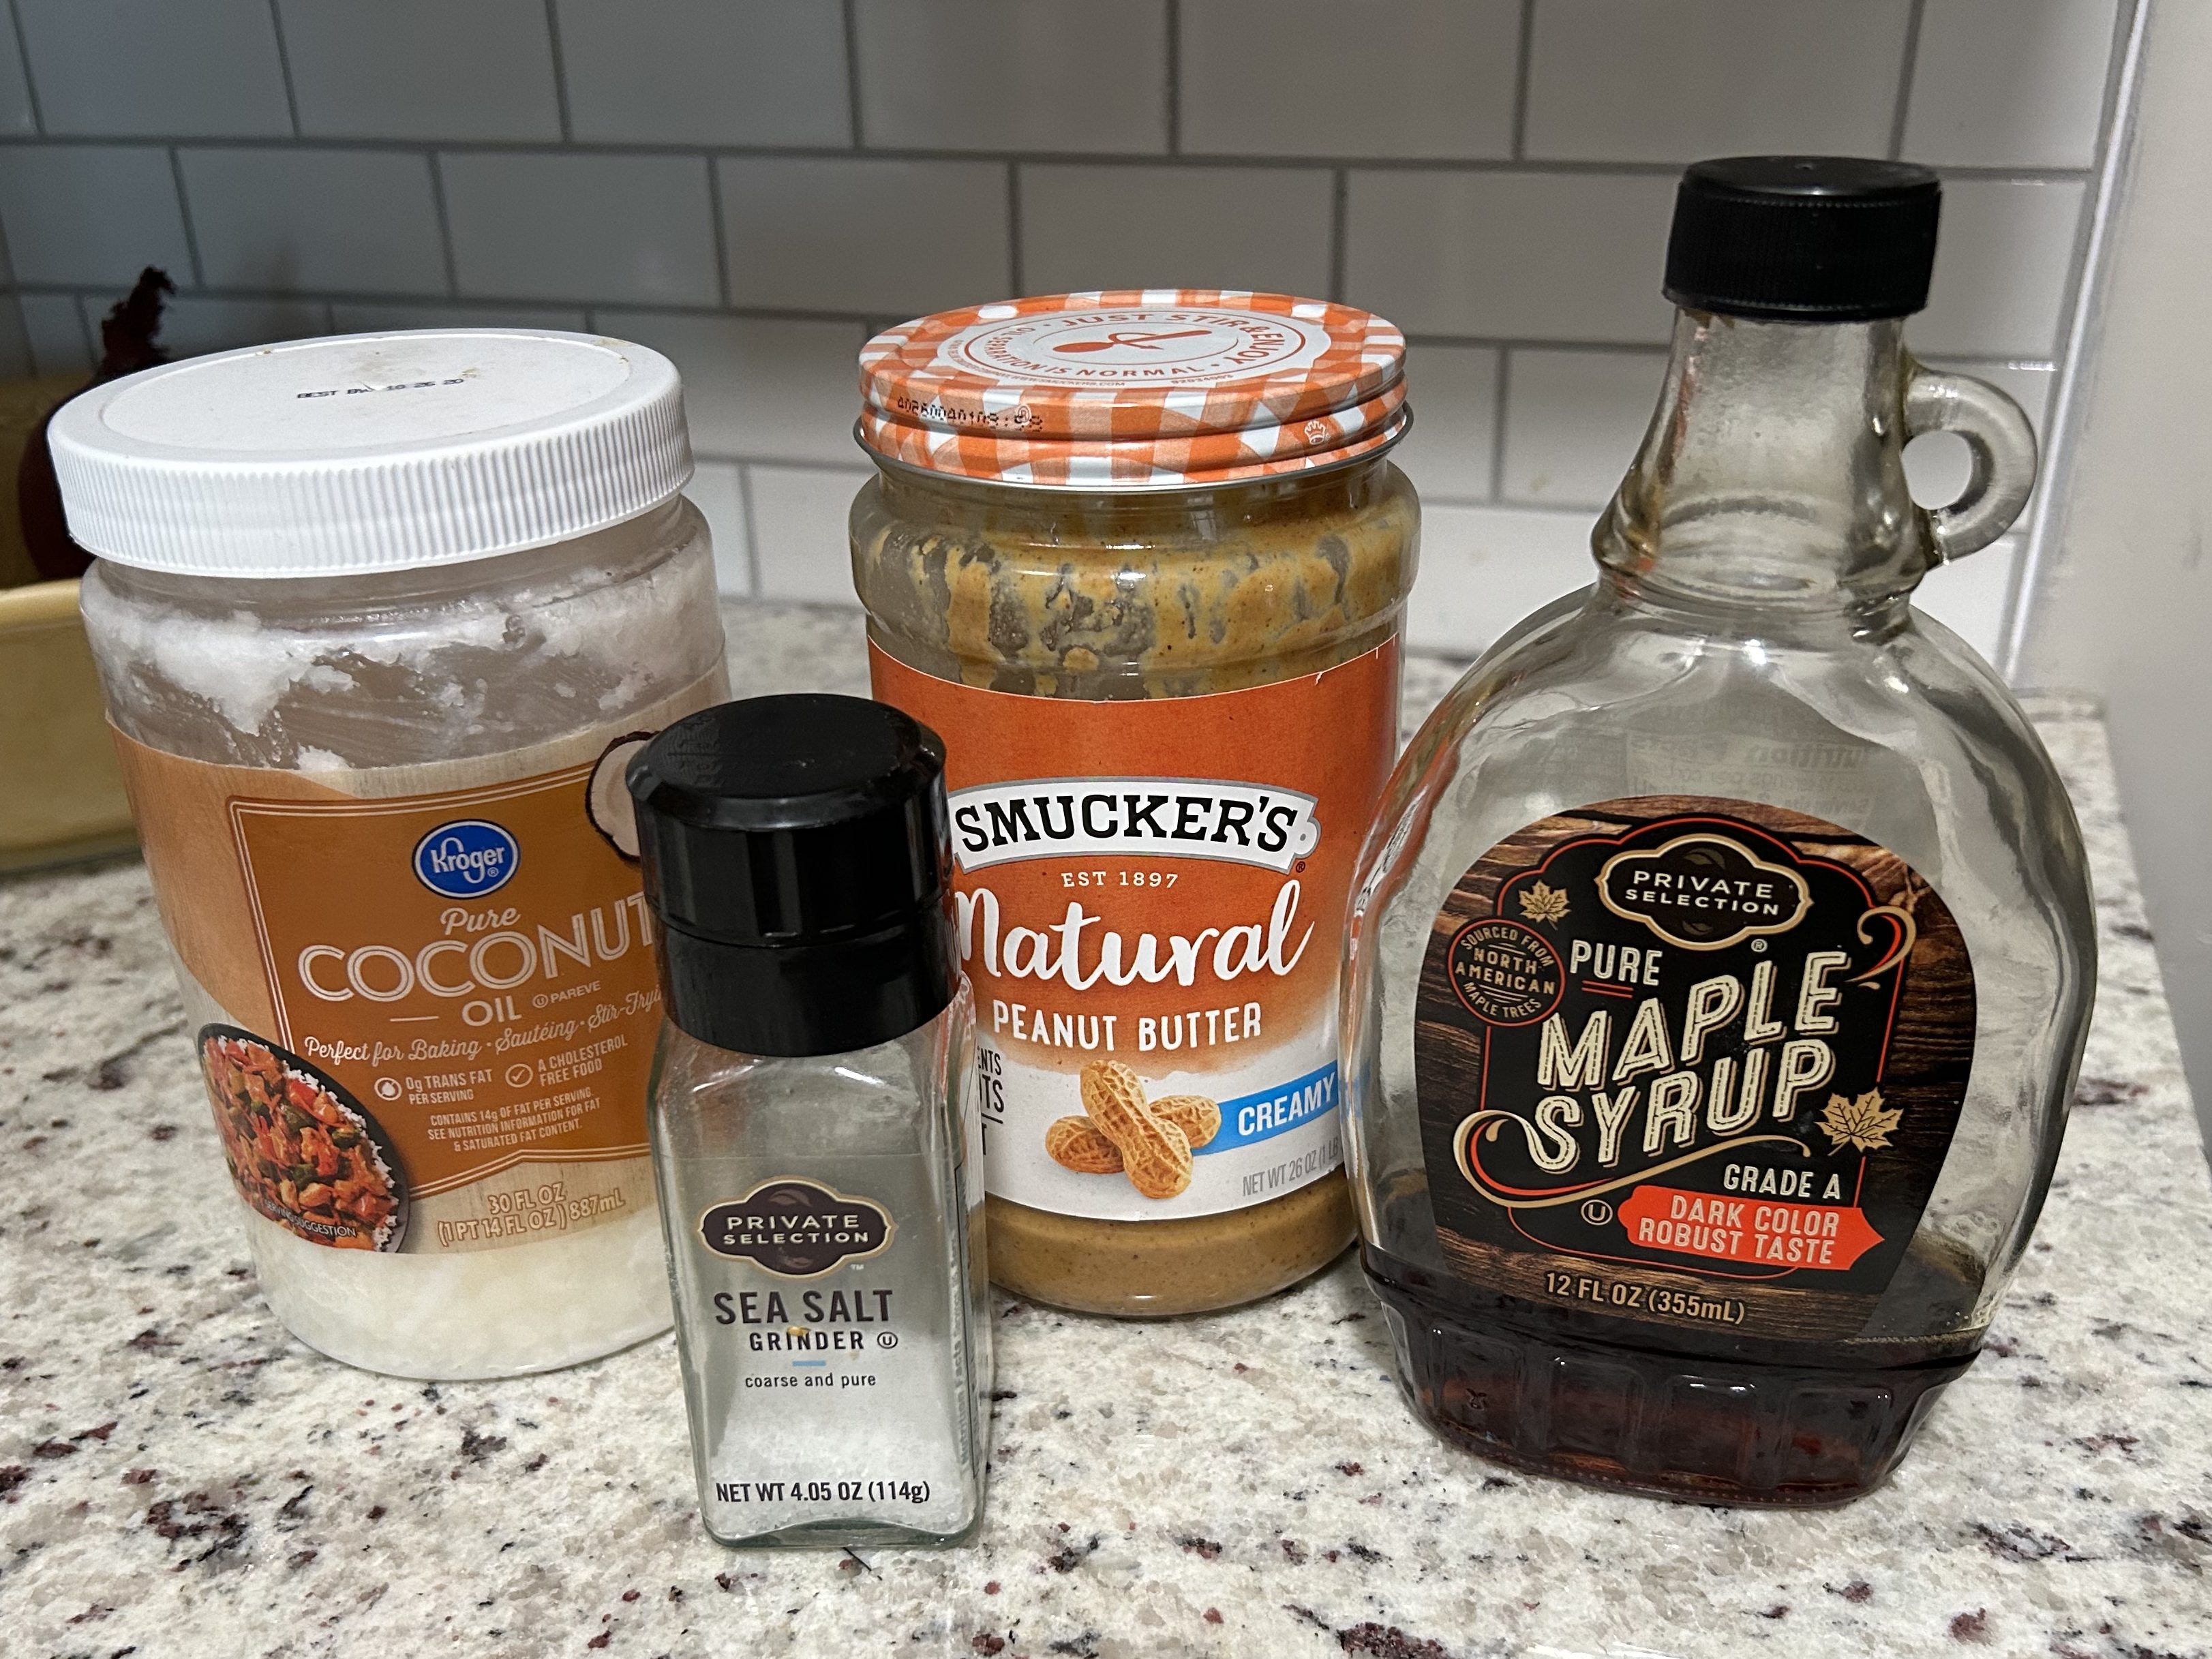
To save the earth from plastic packaging, I buy chocolate chips from our local bulk refill grocery store. I also try to always buy my nut butters in glass jars instead of plastic (although the plastic jars are at least recyclable where I live). Coconut oil and maple syrup can also easily be found in glass containers. You’ll see in the photos that I’m using coconut oil from a plastic tub and that’s because I’m still working through the coconut oil I purchased in my pre-zero waste days.
In terms of the tools you’ll need, I prefer to use a silicone mini muffin tray because it prevents the need for tray liners which will just be thrown away. I also prefer to use stainless steel pots and pans because the non-stick surface eventually wears off into your food and is toxic 😦 For this recipe, you won’t need to worry about the chocolate sticking to the pan too much, just rinse as soon as you’re done with it.
Once you have all the ingredients and tools you need, these easy chocolate peanut butter cups take only about 15 minutes to make. Since they are free from any unhealthy preservatives or additives, use all natural oil and sweeteners, and don’t come wrapped in plastic, I like to think they are about as healthy as candy can be! And, therefore, feel no guilt in eating many at a time 🙂
Let’s get started!
Ingredients:
7 ounces chocolate chips (can be milk or dark chocolate)
2/3 cup peanut butter (or any preferred nut butter)
2 Tbsp maple syrup (or honey could also work)
4 tsp coconut oil
Tools & Equipment:
Silicone mini muffin tray
Small sauce pan
Small, microwavable bowl
Spoon
Measuring utensils
Wooden spoon or any spatula
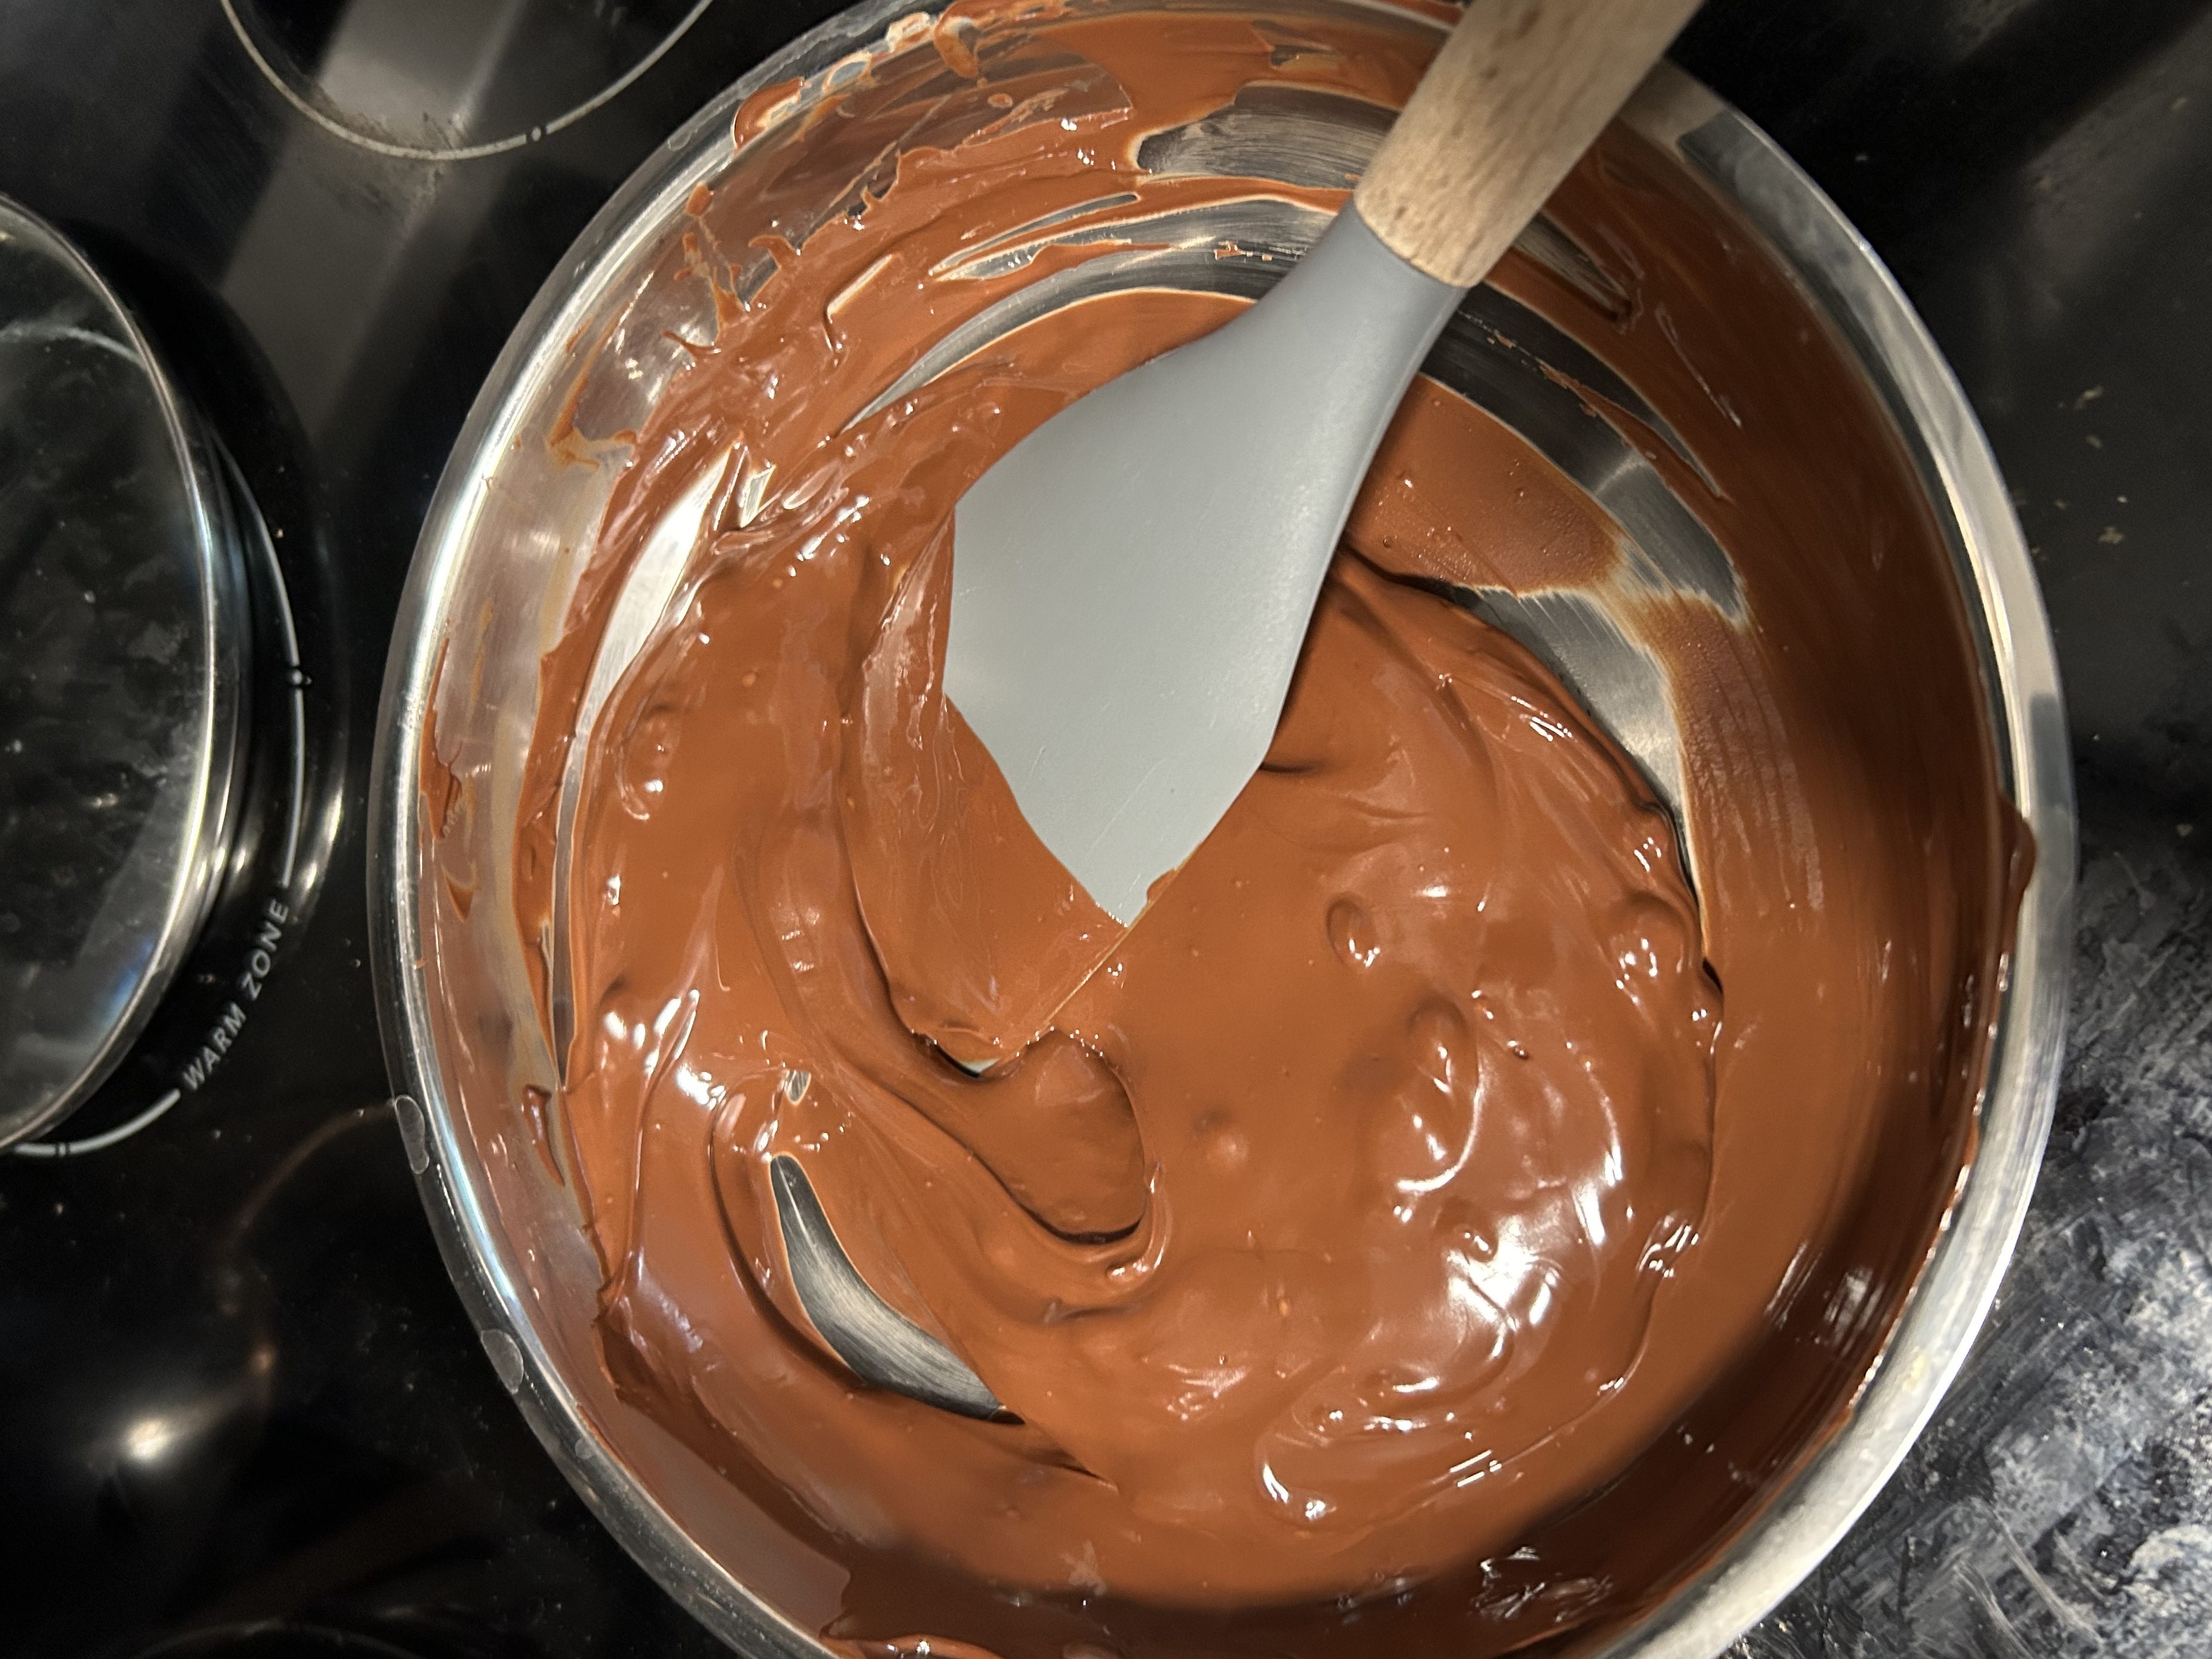
Step 1: Melt the chocolate
In a small sauce pan, or even a frying pan, melt the chocolate. Make sure to keep the heat on the lowest possible setting and stir very frequently to ensure the chocolate does not burn.
Once the chocolate is a nice, melty consistency, turn the heat off and spoon enough into each mini muffin cup to completely cover the bottom.
Put in the freezer to harden.
Step 2: Create the filling
While the chocolate is in the freezer, assemble your peanut butter mixture. In a small bowl, combine the coconut oil, maple syrup, and peanut butter. If the coconut oil isn’t already a liquid-y consistency, you may want to pop it in the microwave for a minute or so to make sure it mixes in well with the other ingredients.
Stir to combine then place the bowl in the refrigerator.
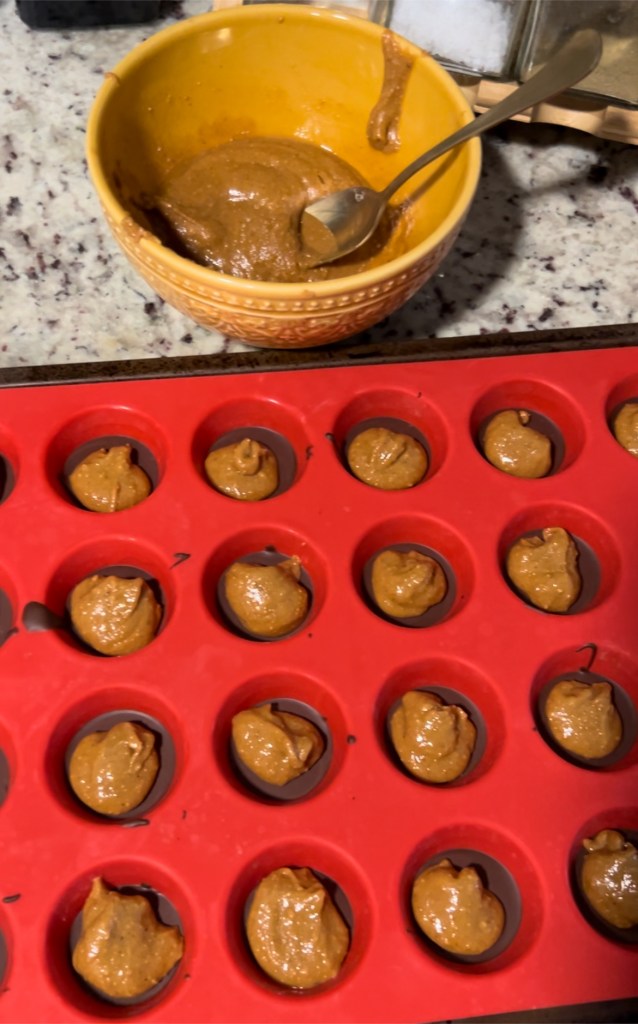
Step 3: Assemble
After about 5-7 minutes, remove the chocolate from the freezer and take the peanut butter mixture out of the refrigerator.
In the center of each muffin cup, dollop some of the peanut butter mixture – measure with your heart, or about a teaspoon should do. Try to make sure there is enough space around the outside of your dollop for the chocolate we will pour over top to cover and enclose on the outside. If you’re more concerned with how the finished product will taste than how it will look, you don’t have to worry so much about this step.
Once you have finished with the filling, spoon the remaining melted chocolate over top of each cup, using enough to cover the top and pour down around the sides. Use a spoon to spread the chocolate around as necessary.
If desired, now would be a good time to sprinkle a tiny little bit of sea salt on top of each cup.
Step 4: Finish in the freezer and enjoy!
Pop the tray back in the freezer one more time, just a couple minutes should do. I like to leave mine in the freezer for a cold little treat but you can also take them out and serve room temperate if that’s your preference! I often have a small amount of leftover ingredients so sometimes I will repeat the process to make a few more or you can always enjoy disassembled 🙂

Leave a comment